Long-Term Storage
Headed south for the winter? Leaving your golf car for several months? Preparing your golf car for winter storage is one of the best things you can do to ensure it will run when you come home in the spring. Below are some tips for most electric and gas Club Car golf cars.
Electric Vehicle Long-Term Storage
Make sure the vehicle is plugged in and that the proper electrolyte level is maintained throughout the entire storage period. Perform the following procedure at least two weeks prior to long-term storage to ensure proper mixing of water and electrolyte. It takes approximately five charge cycles with a minimum of 10 EU’s removed to properly mix the water with the electrolyte. DO NOT water batteries immediately prior to storage. This will not provide sufficient charge time to mix the water with the electrolyte. Freezing can occur when batteries are stored in this condition.
- Two weeks prior to storage: Check the water levels in each battery cell. If water is required, fill the cells to cover the plates, charge the set and use distilled water to top off each cell. Electrolyte levels shoudl be from 1/2 inch above plates to 1/4 inch below the level indicator.
- Immediately prior to storage:
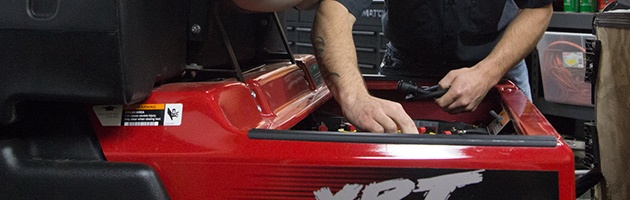
a. Turn the key switch to the OFF position, remove the key and leave the forward/reverse switch in the NEUTRAL position during storage.
b. Power down all accessories.
c. Place the tow/run switch in the TOW position. Since the battery warning light does not illuminate with the tow switch in TOW, do not use the warning light as an indication of the batteries’ charge state.
d. Clean the battery packs, tops and terminals using a battery acid neutralizer (1 cup baking soda per 1 gallon water). Check, clean and treat battery terminal connections with a battery terminal protection spray.
e. Tighten all battery cable connections per the owner’s manual.
f. If your vehicle is equipped with a Single Point Watering System, place the fill tube on top of the battery. This allows any water in the tube to drain back into the batteries.
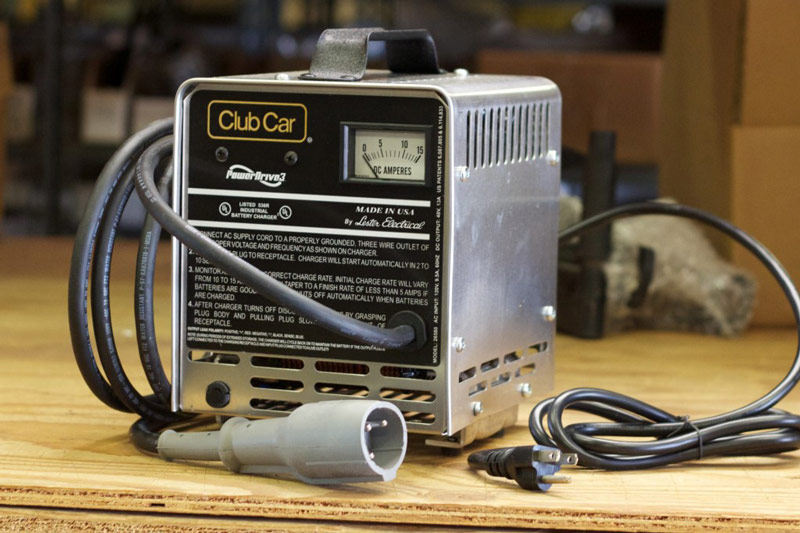
g. A bag protector should be stored in the DOWN position to reduce risk of the vinyl in the window panel cracking. The windshield should be stored in the UPRIGHT position. - Plug the battery charger into the car. Leave charger plugged in during storage. If your car is equipped with an onboard computer (OBC), it automatically activates the charger when needed.
- If the battery charger is left plugged in during extended storage, check the electrolyte level and the charger function at least once per month to ensure that proper operation is maintained. To check charger function, disconnect the DC cord (stationary charger) from the power source and wait five seconds before reconnecting. The charger is functioning properly if the ammeter indicates current.
- If AC power is off for seven or more days, the OBC will not function or charge the vehicle again until it is restarted. To restart the computer:
a. Ensure AC power has been restored.
b. Disconnect the DC cord (stationary charger) from the vehicle or the AC cord (onboard charger) from the power source; wait five seconds and reconnect. - Check tire pressure and inflate to 18-20 PSI or as called for in the owner’s manual.
- Perform all semi-annual lubrication.
- Thoroughly clean the front and rear body, seats, battery compartment and underside of vehicle.
- Make sure the storage facility has adequate ventilation as called for in the owner’s manual.
- Do not engage the part brake, but secure the car from rolling. Chock the wheels of vehicles since the forward/reverse lever is in the NEUTRAL position and the vehicles is in TOW position.
Gasoline Vehicle Long-Term Storage
- Place the forward/reverse handle in the NEUTRAL position and the neutral lockout cam in the MAINTENANCE position.
- Turn the fuel shut-off valve to the closed OFF position. Turn the key switch to ON position and run the engine until the fuel remaining in the carburetor and fuel lines is depleted and the engine stalls. Turn the key switch to the OFF position and remove the key. Return the neutral lockout cam to the OPERATE position.
- Loosen but do not remove the carburetor drain screw and drain the remaining fuel into a clean container. Pour the fuel from the container into the vehicle’s fuel tank and tighten the carburetor drain screw.
- Disconnect the fuel vent line from the fuel tank vent bar. Use a slip-on vinyl cap to plug the fuel tank vent nipple so that it is airtight.
- Disconnect the battery cables, starting with the negative cable.
- Check tire pressure and inflate to 12-14 PSI or as called for in the owner’s manual.
- Perform all semi-annual lubrication and make sure engine oil levels meet the owner’s manual requirements.
- Clean the battery using a battery acid neutralizer (1 cup of baking soda per 1 gallon of water). Check, clean and treat battery terminal connections with a battery terminal protector spray.
- Remove the spark plug and pour 1/2 ounce of SAE 10 weight oil into the engine through the spark plug hole. Rotate the engine crankshaft by hand several times and then re-install the spark plug.
- Do not engage the park brake, but secure the car from rolling.
- A bag protector should be stored in the DOWN position to reduce risk of the vinyl in the window panel cracking. The windshield should be stored in the UPRIGHT position.
Taking these steps will help ensure your electric or gas Club Car golf car is ready to use in the spring. If you have any questions please call our service department at 503-981-4606.